
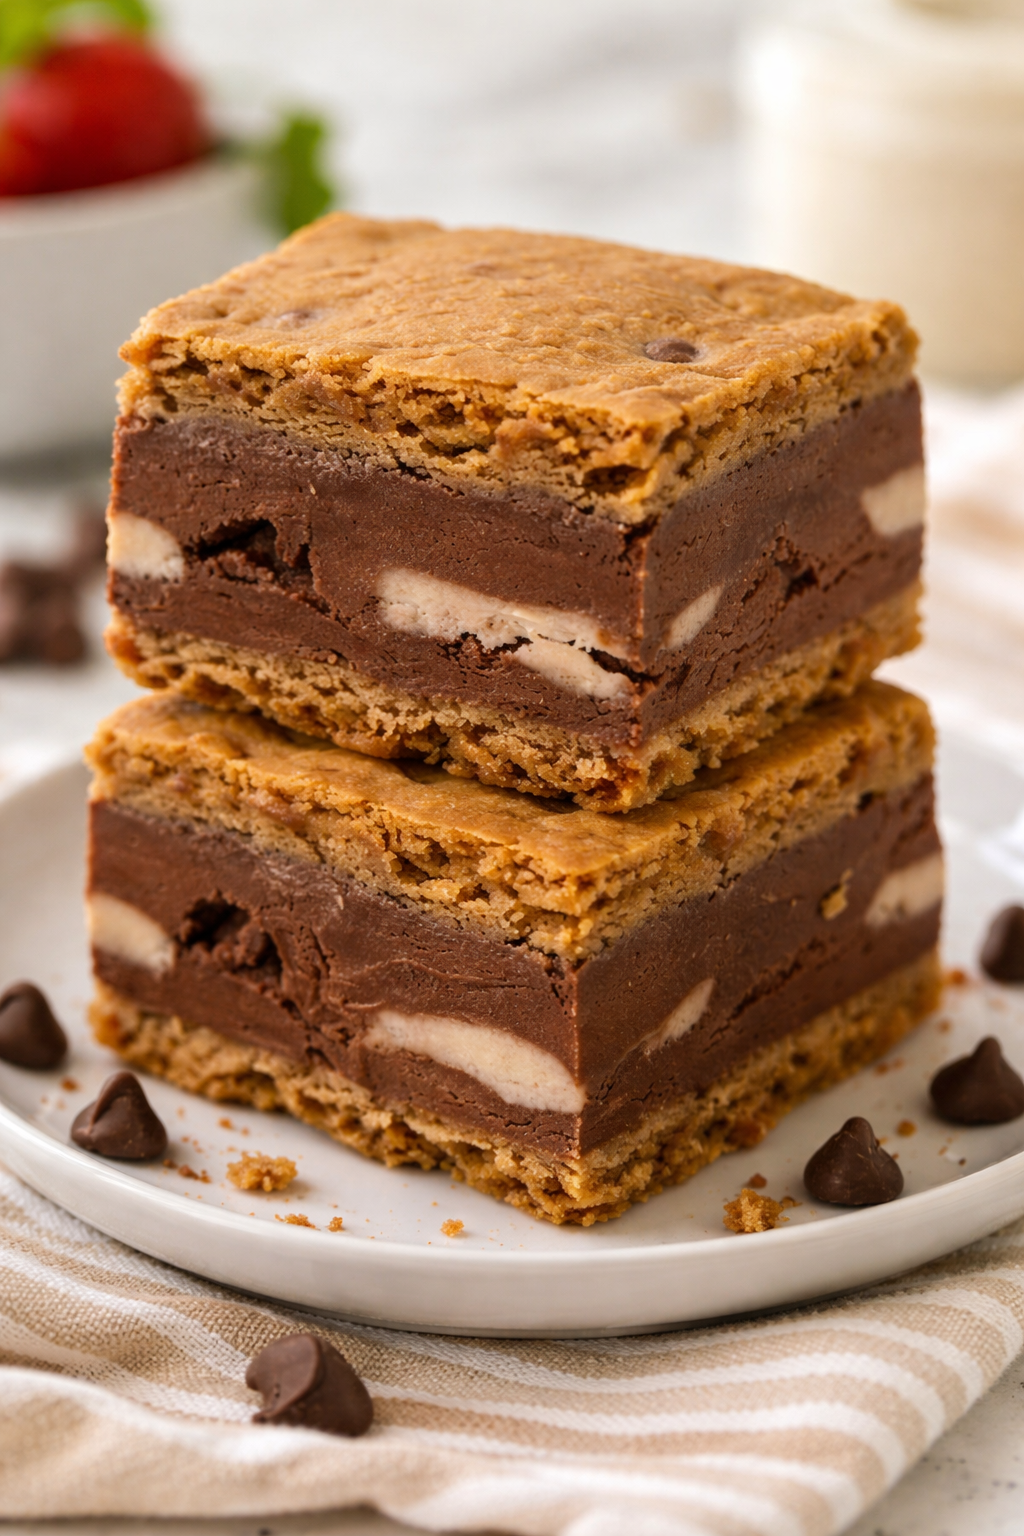
Chocolate ice cream sandwiches don’t get better than this—soft, chewy layers with a rich chocolate ice cream center, and you don’t even need the oven. These no-bake sandwiches are perfect for summer, parties, or a make-ahead freezer dessert.

Why You’ll Love These
- No-bake and freezer-friendly
- Soft & chewy texture (not rock-hard)
- Make-ahead dessert for parties
- Easy ingredient swaps
Ingredient Notes
- Butter + brown sugar = chewy texture
- Chocolate chips add richness and bite
- Ice cream: chocolate, vanilla, or cookies & cream all work
Chocolate Ice Cream Sandwiches (No-Bake)
Soft & Chewy Chocolate Ice Cream Sandwiches
Ingredients
Equipment
Method
- Line a 9×9-inch baking pan with parchment paper, leaving overhang on the sides for easy removal.
- In a large mixing bowl, whisk together the melted butter, brown sugar, and granulated sugar until smooth.1 cup unsalted butter, 1 cup brown sugar, 1/2 cup granulated sugar
- Add the egg and vanilla extract and mix until fully combined.1 large egg, 2 teaspoons vanilla extract
- Stir in the flour, baking soda, and salt just until a soft dough forms. Fold in the chocolate chips.2 cups all-purpose flour, 1/2 teaspoon baking soda, 1/2 teaspoon salt, 1 1/2 cups chocolate chips
- Press half of the dough evenly into the prepared pan to form the bottom layer.
- Spread the softened chocolate ice cream evenly over the dough layer.2 cups chocolate ice cream
- Gently press the remaining dough over the ice cream, smoothing the top as evenly as possible.
- Cover the pan tightly and freeze for at least 4 hours, or until completely firm.
- Lift the dessert out using the parchment paper, slice into squares, and serve immediately.
Notes
Chocolate Ice Cream Sandwiches That Are Soft & Chewy
These chocolate ice cream sandwiches are designed to stay soft and chewy instead of freezing rock hard. Using melted butter and brown sugar in the cookie layers helps create a tender texture that’s easy to bite into straight from the freezer.
Tips for Clean, Even Slices
- Freeze until completely firm before slicing
- Use a sharp knife warmed under hot water
- Wipe the blade clean between cuts
Why This No-Bake Dessert Works
One of the best parts about this recipe is that it’s completely no-bake. There’s no oven required, making these chocolate ice cream sandwiches perfect for hot summer days, quick desserts, or make-ahead treats for parties and gatherings.
Ingredient Tips for Best Results
- Brown sugar adds moisture and chewiness to the dough
- Chocolate chips provide texture and richness
- Chocolate ice cream works best when slightly softened before layering
You can also swap the chocolate ice cream for vanilla, cookies & cream, or peanut butter ice cream for an easy variation.
How to Store
Wrap squares tightly and freeze up to 2 weeks. Let sit 2–3 minutes before eating for the best bite.
Tips for Clean Slices
- Freeze until fully firm
- Use a sharp knife warmed under hot water, then wipe dry between cuts
For food safety guidance on frozen desserts and storage times, see the USDA’s freezer storage recommendations.
If you love easy desserts, check out my Dessert Recipes page for more sweet ideas.